
TL;DR
Dog reactivity is a drive-regulation problem. Arousal escalates faster than the dog’s ability to control it. A flirt pole fixes this by repeatedly cycling the dog through high arousal and deliberate self-control within a single structured session.
In practice, the protocol runs in 4 phases: foundation (Wait and Drop-it in low distraction), session fluency (reliable cue responses at full arousal), pre-walk priming (lowering the reactive baseline before walks), and controlled trigger work at distance. Most dogs show meaningful improvement within two weeks of daily structured sessions. According to the American Kennel Club on reactivity, the distinction between reactivity and aggression matters for protocol selection. AVMA behavioral guidance reinforces that structured arousal management is foundational to reactivity protocols.
Who This Protocol Is For
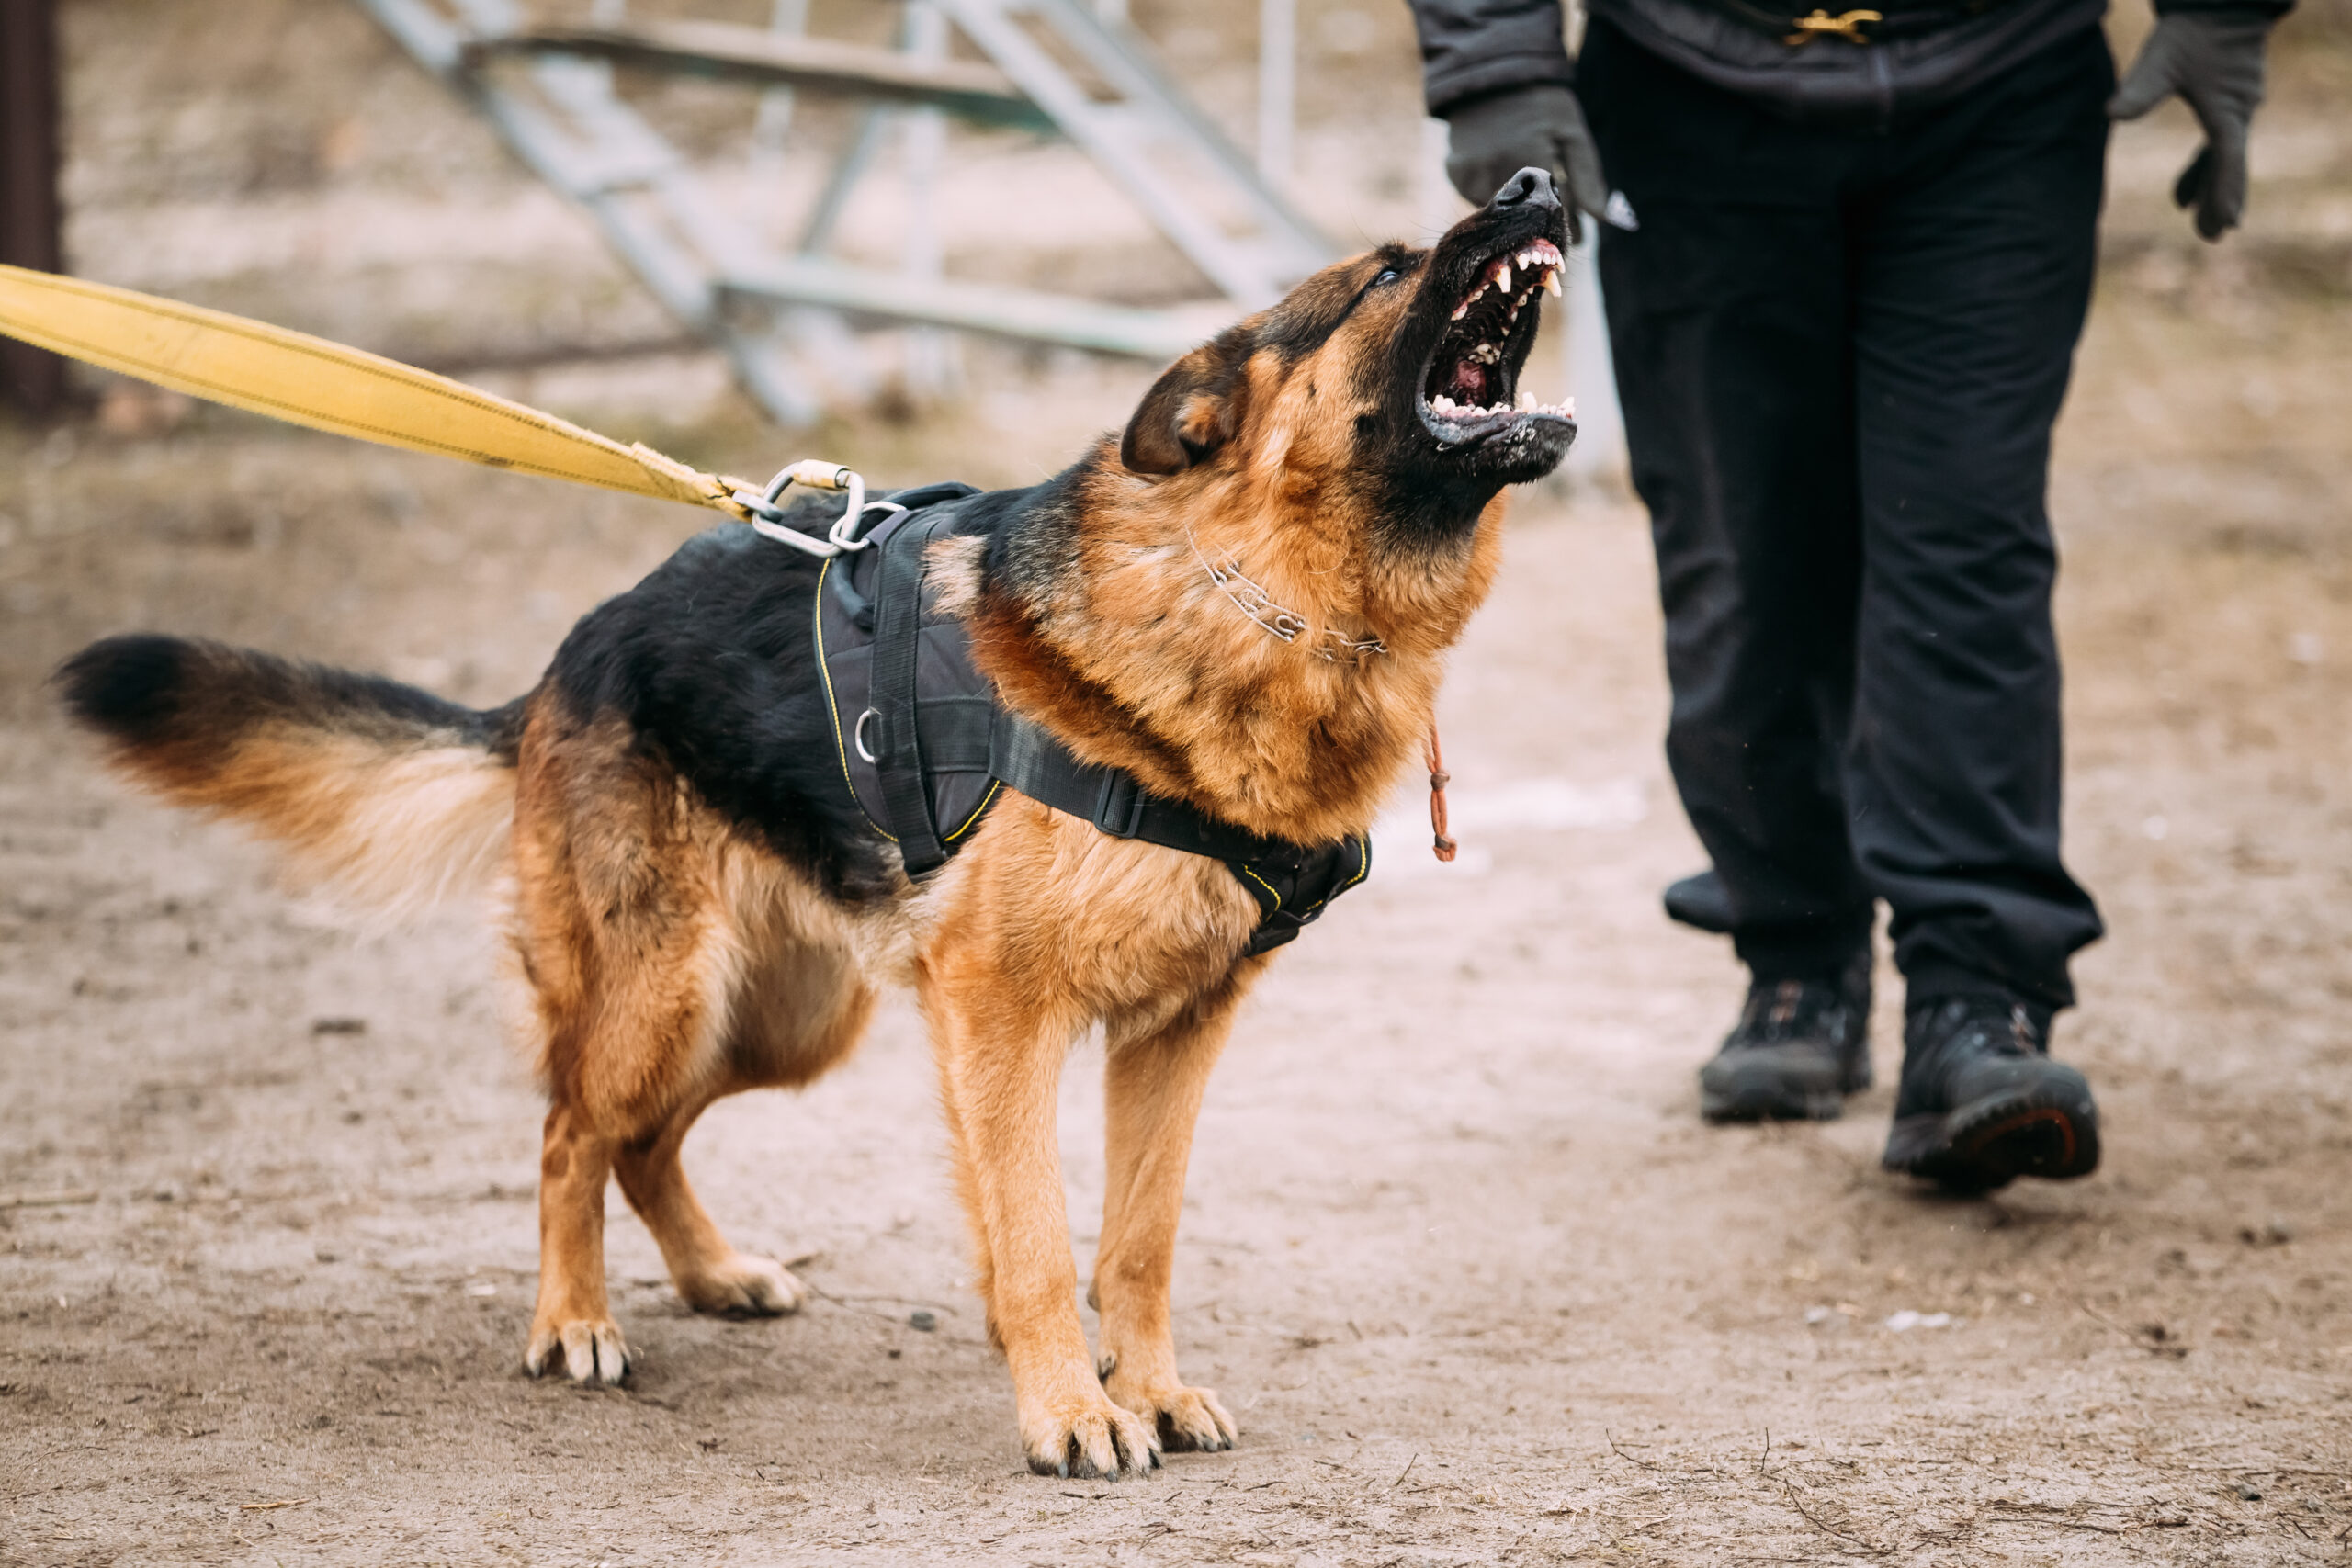
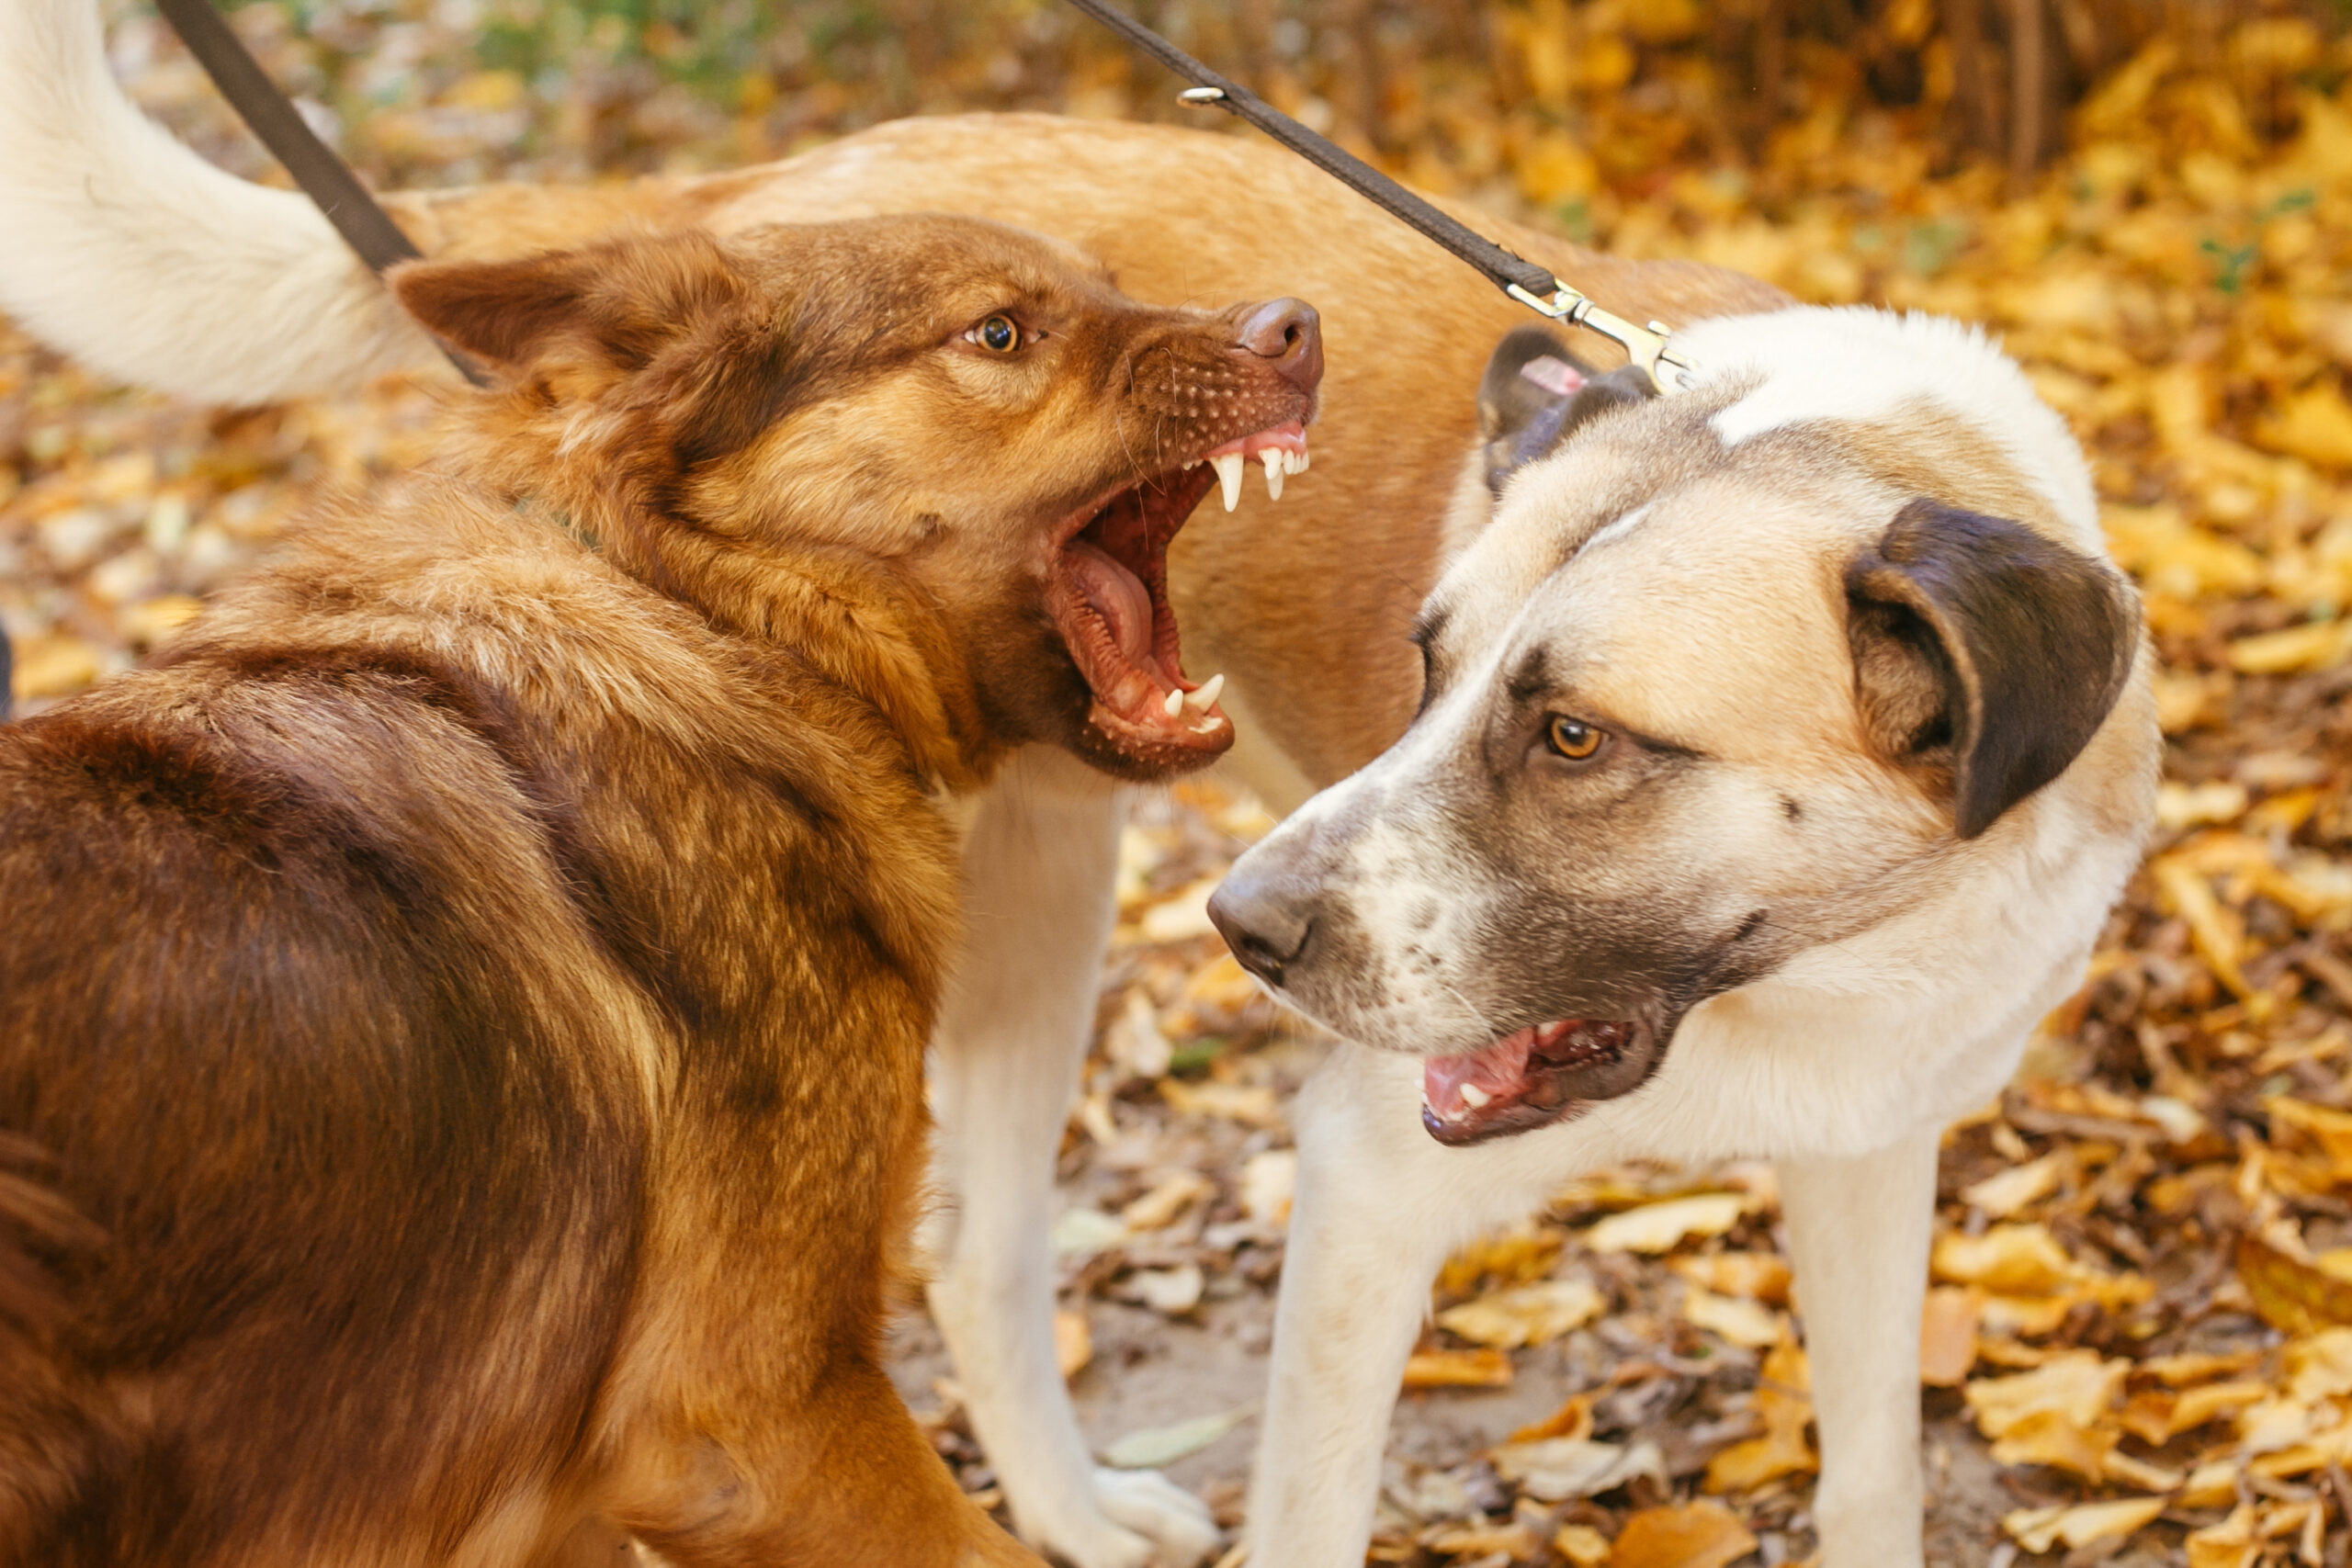
Your dog lunges at other dogs on walks. Barks uncontrollably at bikes, joggers, or skateboards. Loses all focus the moment something moves. Cannot pass another dog at any distance without an explosion. You have tried walking more, exercising harder, avoiding triggers. Nothing has changed.
This protocol is for dogs whose reactivity comes from arousal they cannot regulate, not from fear-based aggression. If your dog is fine at home but falls apart outside, this is almost certainly your situation.
Signs Your Dog Needs This Protocol
- Lunging and barking at dogs, people, bikes, or cars on leash
- Cannot focus on you when any movement is visible
- Over-aroused before the walk even starts
- Recovers slowly after seeing a trigger
- Gets more intense on walks despite daily exercise
- Knows commands at home but ignores them outside
Why This Works: The Neurological Case
In practice, most reactivity training focuses on what happens at the trigger: desensitization, counter-conditioning, threshold management. These are valid approaches, but they have a ceiling when the dog’s underlying drive regulation has not been addressed. A dog that has not learned to hold arousal and defer to its handler will not suddenly develop that capacity in front of a trigger. You cannot teach impulse control in the moment of maximum arousal.
A structured flirt pole session builds that capacity in a controlled environment first. Each session is dozens of repetitions of the same neurological skill: feel intense drive, hold it on a cue, receive permission, execute, come back down. The predatory motor pattern completes cleanly. Arousal spikes, resolves, and the dog settles. Repeat that enough times and the dog develops a physiological ability to regulate its own arousal state that it did not have before.
That is the transfer mechanism. When the dog encounters a trigger on a walk, the regulation capacity built during structured sessions is available. It does not eliminate drive or sensitivity, but it gives the dog a functional ability to hold and settle that the handler can work with. The AKC’s guidance on reactive dogs aligns with this principle: reactive behavior is a regulation issue, not a defiance issue. Research cited by the ASPCA on canine behavior reinforces that allowing the predatory sequence to resolve produces measurable post-arousal calm. For dogs whose reactivity is specifically prey-driven, the high prey drive training framework covers the full instinct-based context that this protocol draws from.
Drive fires, nothing catches it
Dog sees trigger. Arousal spikes. No regulated outlet exists. No impulse control skill has been built. Reactive outburst follows. Nothing changes session to session.
Drive fires, gets channeled
In short, dog sees trigger. Arousal spikes. Dog has practiced holding this feeling 50 times this week in structured sessions. Handler redirects. Dog engages, regulates, settles.
Particularly, every owner I see has already tried the obvious things, more walks, more avoidance, more management. I get it. You are doing everything you were told to do and the dog is still exploding. What nobody told you is that management never builds regulation. Your dog cannot get better at holding arousal if they never practice holding arousal. That is what this protocol fixes.
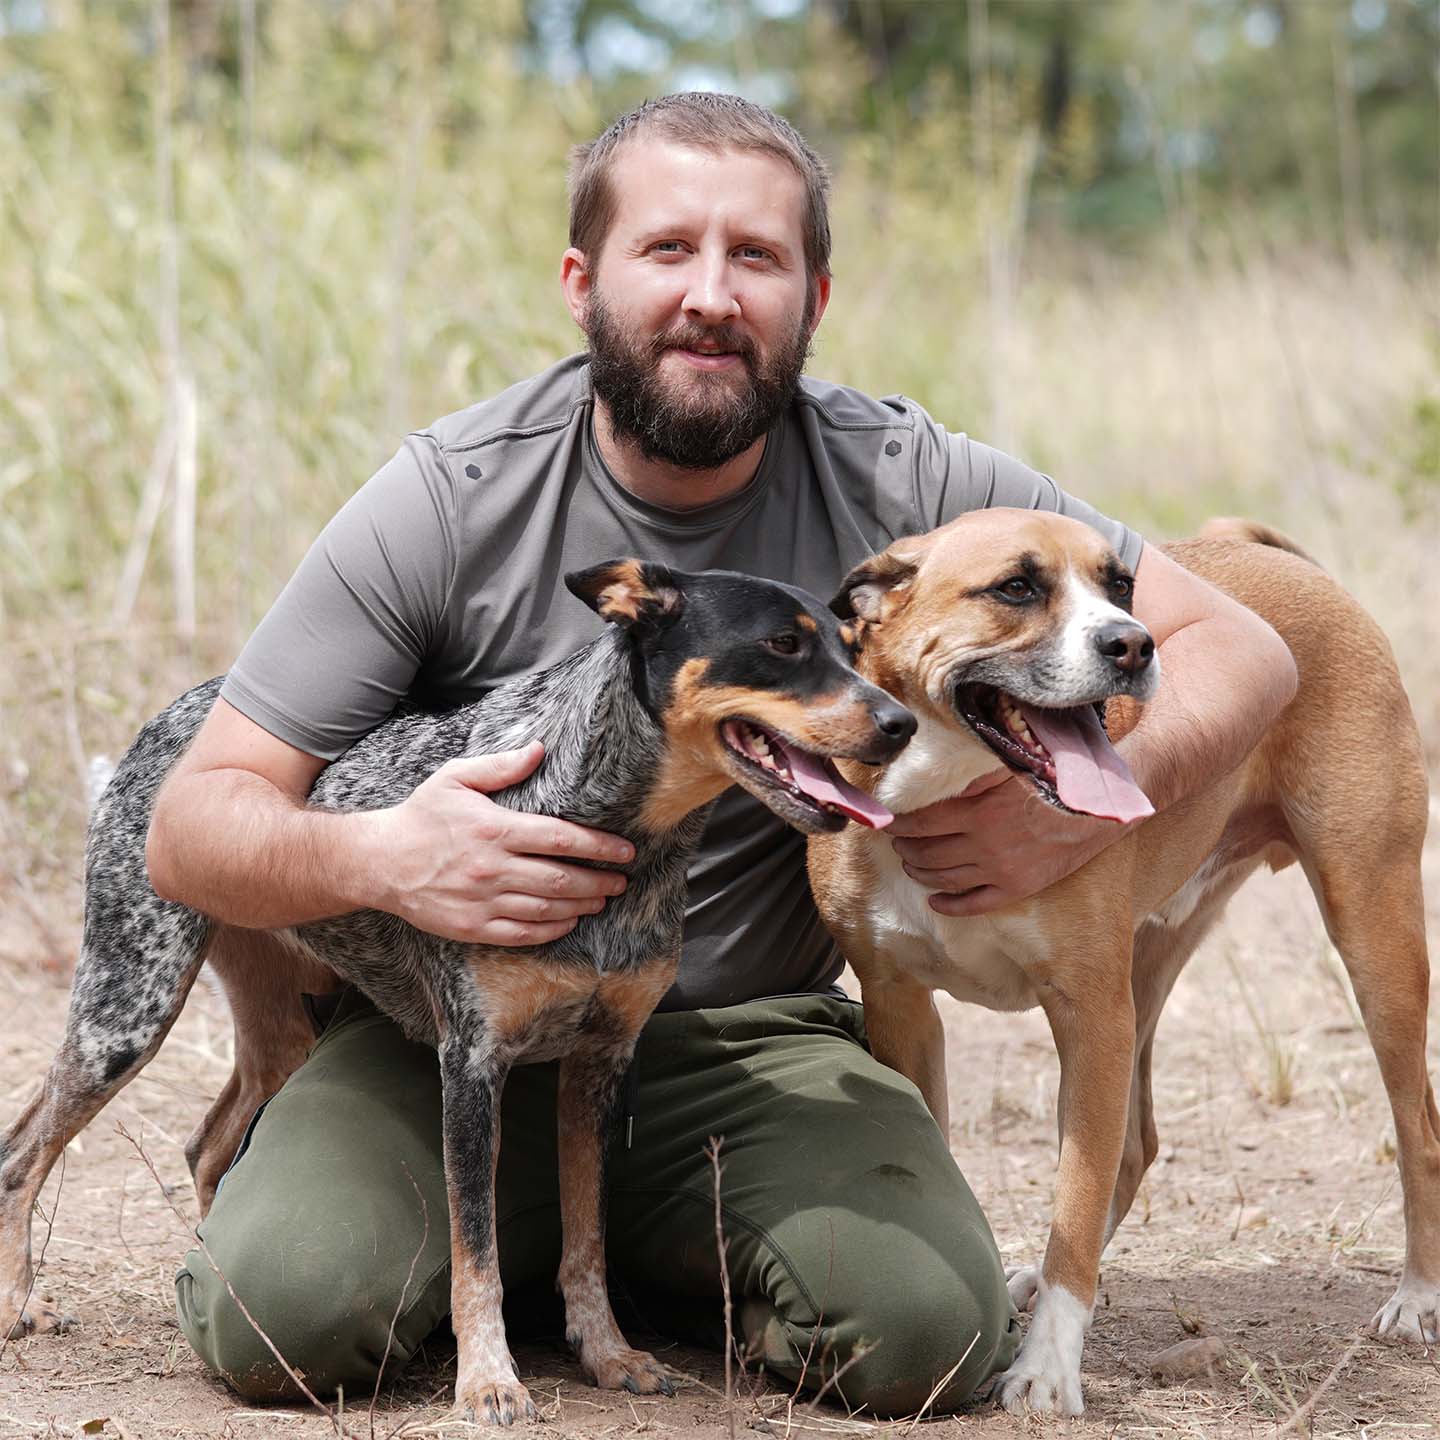
Christopher Lee Moran · Controlled Freedom Method · my private training practiceIn fact, reactivity is a regulation problem, not an obedience problem. Structured flirt pole sessions build the impulse control capacity that lets the dog hold arousal at a trigger instead of acting on it.
Before You Start
In short, get these right before the first session. Wrong setup produces wrong outcomes from day one.
Equipment, Space, and Mindset
The right flirt pole. A short elastic pole produces erratic lure movement that amplifies arousal instead of helping you modulate it. For reactivity work, you need enough reach to run wide, smooth arcs and a durable line that moves the lure deliberately. The Whimsy Stick Standard covers dogs 30 lbs and under; the Rugged XL is built for power breeds over 30 lbs. For the broader case on why a trainer-designed flirt pole is the right category fit, see best flirt pole for dogs.
A low-distraction space. For Phase 1 and Phase 2, you want the dog focused entirely on the session. Indoors, away from windows, no other pets present. If your dog can see the neighbor’s dog from the training space, use a different room. Complexity gets introduced in Phase 3 and 4 when the foundation is solid.
Reward Setup and Timeline Expectations
A reward the dog actually cares about. High-value treat (real meat, not kibble) for the drop-it and all-done cues. The drive activation of structured sessions means you need something that genuinely competes with the game for the release reward to function.
Correct timing expectations. This is a weeks-long process. You will see behavioral changes within the first week: better focus, faster cue response, noticeable post-session calm. Full transfer to real-world trigger behavior takes 4 to 8 weeks of consistent daily work. Every owner I have worked with reports that the first week of visible improvement is the strongest motivator to keep going.
- Use a long-reach pole with smooth Kevlar line
- Start in the lowest-distraction room available
- Use high-value treats that compete with the game
- Keep early sessions under 8 minutes
- End every session with a clear All-done cue
- Use a short springy pole that creates erratic movement
- Start near windows or other dogs
- Use kibble as the release reward
- Push past 15 minutes in any session
- End sessions when the dog loses interest instead of on your cue
The 4-Phase Protocol
How the Phase Sequence Works
For example, each phase builds on the last. Jumping to trigger work before the foundation is installed is the most common mistake owners make. Follow the phases in order. The sequencing reflects the neurological progression required for the skills to transfer to real-world behavior. For the underlying session structure that this protocol builds on, see the flirt pole training guide.
Phase 1 is not about exercise or excitement. It is about installing two cues that everything else depends on: Wait (hold drive before the chase begins) and Drop it (release the lure cleanly after the catch). Without reliable responses to both, you do not have training. You have supervised chaos.
Phase 1 Step-by-Step
-
1Introduce the lure slowly. Drag it at low speed, close to the ground. Do not trigger a full chase yet. Let the dog sniff and orient. This first contact should produce curiosity, not explosion. Success looks like: dog tracks the lure with eyes and nose but does not lunge. No barking. Body loose, not rigid.
-
2Install Wait. Hold the lure still. The moment the dog pauses forward momentum, say “Wait” clearly. Hold 3 to 5 seconds. Release with “Get it.” If the dog breaks before release, stop the lure and reset. No correction, no drama, just no game until the wait happens. Build duration gradually across the week: 3 seconds, 5, 8, then 10.
-
3Install Drop it. When the dog catches and possesses the lure, let them hold it 2 to 3 seconds. Say “Drop it” and present the high-value treat at the dog’s nose. The moment they release, mark and reward. Re-engage immediately. The release should lead back to the game, not end it. Never yank the lure away. The release must be the dog’s choice.
-
4End with All Done. After 5 to 8 minutes, say “All done,” present the treat, take the lure, and put the pole out of sight. The session ends on your signal, not when the dog loses interest. This boundary is as important as anything else in the protocol. Success looks like: dog accepts the end cue without frantic searching for the pole. Settles within 2 to 3 minutes of session end by day 5.
Dog responds to Wait and Drop it on the first cue in at least 80% of repetitions, with no line pressure needed to enforce the wait. When you hit this, Phase 2 is accessible.
Phase 2 Through 4: Building on the Foundation
Phase 2 runs the same cues at higher arousal. Faster lure movement, more explosive chase, longer possession before the drop. The goal is proving the cues hold when the dog is genuinely activated. This is where the impulse control capacity that transfers to real-world reactive situations actually gets built. This phase is the neurological core of the entire protocol.
Phase 2 Step-by-Step
-
1Increase chase intensity. Move the lure faster, change directions more sharply, allow longer chase sequences before the catch. The dog should be working hard. This is no longer slow-drag practice. Success looks like: dog is fully engaged at high speed, but still responds to Wait on the first cue without the lure having to stop completely.
-
2Hold Wait longer. Extend the wait duration at the start of each repetition. Target 10 seconds with the dog visibly activated: body tense, eyes fixed on the lure, holding position. This is precisely the neurological skill that transfers to trigger situations. If the dog cannot hold 10 seconds, reduce intensity before the wait. Do not rush this.
Proofing the release and tracking the recovery
-
3Proof Drop it under high drive. Phase 1 was the drop at low arousal. Phase 2 means the dog releases cleanly immediately after an intense chase, when possession drive is highest. If the drop is unreliable here, stay in Phase 2 longer. Success looks like: dog releases within 2 seconds of the verbal cue with no tugging or spinning away, even immediately after a hard catch.
-
4Watch the post-session state. A correctly run Phase 2 session produces a dog that settles within 5 to 10 minutes after the all-done cue. If the dog is still pacing, sessions are too long or too intense. Dial back both. Success looks like: dog is lying down or calmly resting within 10 minutes of session end. Heart rate visibly lower. Not scanning for the pole.
Meanwhile, wait and Drop it are reliable at full arousal, and the dog settles within 10 minutes post-session. This typically takes 5 to 7 days. For a deeper library of drills to run alongside this phase, see the separation anxiety protocol for how the same regulation framework applies to anxiety-driven reactivity.
Phase 3 integrates the protocol into daily life. A 10-minute structured session before every walk depletes accumulated arousal that would otherwise be looking for a target on the street. You lower the dog’s reactive baseline before the walk begins, rather than trying to manage the full accumulated load outside. If your dog is hyper after walks, this phase will change that pattern entirely.
Phase 3 Step-by-Step
-
1Run the session immediately before every walk, not 30 minutes before. The goal is the post-session calm state applied directly to the walk. Leash up while the dog is still settled. Success looks like: dog accepts the leash calmly within 2 minutes of the all-done cue, without spinning or whining at the door.
-
2Keep the session structured, not wild. This is not about physical exhaustion. It is about completing the predatory sequence and producing the neurological calm that follows. Ten controlled minutes with proper Wait and Drop-it cues is the target. Success looks like: at least 6 full Wait-release-chase-drop cycles completed per 10-minute session. No skipped cues.
-
3Track the difference. Note your dog’s behavior on walks with and without the pre-session. Most owners see a noticeable walk improvement within 3 to 5 days: shorter reaction windows, faster recovery after triggers, more check-ins with the handler. Success looks like: walk reactive episodes drop by at least 50% compared to pre-session baseline within the first 5 days of Phase 3.
Indeed, phase 3 runs for at least one full week before introducing proximity-based trigger work. The pre-walk priming needs to become routine and the dog’s reactive behavior on walks needs to show measurable improvement before you increase difficulty.
However, dog’s walk behavior is noticeably improved with pre-sessions vs. without them. Handler reports shorter reaction windows and faster recovery. One full week of consistent pre-walk sessions completed.
Phase 4: Real-World Application
Phase 4 introduces the trigger deliberately. At significant distance, well below threshold, with the flirt pole available as a redirect tool. This is not flooding. You are building a conditioned response: trigger appears, dog looks to handler, handler produces the flirt pole, dog is rewarded for disengaging. This is the protocol applied to real-world conditions.
Phase 4 Step-by-Step
-
1Find threshold distance. Observe the distance at which your dog notices the trigger but has not started the reactive sequence: body stiffens, but no barking or lunging yet. Work 30% further away initially. Starting too close is the most common Phase 4 mistake. Success looks like: dog orients to trigger, body tenses briefly, then disengages or looks back to handler without a full reactive sequence firing.
-
2Use the flirt pole as the interrupt. When the dog orients to the trigger, produce the pole immediately and give the “Get it” cue. The goal is redirecting drive from the trigger to the structured game before the reactive sequence fires. If the dog is already barking, you have gone too far. Increase distance and restart. The flirt pole is a redirect tool here, not a reward for reacting.
Session length and distance progression
-
3Run a short session, then move away. After 3 to 5 repetitions of orient, redirect, engage, drop-it, move away and end with all-done. Success at distance is worth more than prolonged exposure that ends in a reaction. Success looks like: 3 to 5 clean redirects with no full reactive sequence in the session. Dog disengages from trigger within 2 seconds of the flirt pole appearing.
-
4Decrease distance over sessions, not within them. Once the dog is reliably redirecting at the current distance, reduce by a few feet in the next session. This progression should feel slow. If you are pushing distance every session, you are moving too fast. Success looks like: 3 consecutive sessions at a given distance with zero full reactive episodes before reducing by 5 feet. Do not rush this benchmark.
This phase is ongoing. Reactivity management requires maintenance, not a one-time fix. For working breed adjustments, see the GSD and Malinois protocol. For herding breeds with reactivity, see the herding breeds guide.
For example, by week 8 of Phase 4, the median client dog passes a previously-triggering dog at 6 feet with a single redirect cue and zero full reactive sequence. That is the working benchmark this phase is built around.
What to Expect Week by Week
Foundation installs
Specifically, wait and Drop-it become reliable in low distraction. Dog starts anticipating sessions. Post-session calm becomes noticeable for the first time.
Arousal control develops
In fact, cues hold at full intensity. Pre-walk sessions begin. Walks show measurable improvement: shorter reaction windows, faster handler check-ins.
Transfer begins
In practice, controlled trigger work starts. Dogs begin disengaging from triggers at distance on redirect cue. Regulation capacity becomes visible in the real world.
Reliable management
Overall, threshold distance decreases progressively. Dogs can pass previously impossible trigger situations with redirect support. Maintenance becomes the focus.
In short, expect visible behavior change inside 7 to 14 days and reliable trigger management between weeks 4 and 8. Skip any phase and the timeline breaks. Run them in order, daily, and the protocol holds.
Real Dogs, Real Timelines
These are dogs from my active caseload. Not exceptions, not ideal candidates. These results reflect consistent daily application of this protocol, not occasional sessions. Reactive dogs are rarely easy, and these timelines are honest.
Featured Case Study
Specifically, koda was a 4-year-old German Shepherd mix who had been reactive since 12 weeks old. His owner had stopped taking him anywhere with other dogs. Eight reactive episodes per walk was the norm, lunging, barking, zero recovery until the trigger was completely out of sight. By day 11 of this protocol, episodes dropped to 2 per walk. By week 6, Koda was passing dogs at 8 feet with a single redirect cue. His owner told me: “I took him to a brewery last weekend. I actually enjoyed it.” That sentence is what this protocol is for.
Christopher Lee Moran · Case Study: Koda, GSD mix, 4 yrs · 6 weeks to managementIn fact, people come to me after years of managing reactivity by avoiding triggers. That works until it does not. At some point the dog reacts somewhere you could not avoid, and nothing has changed. This protocol is the only approach that builds the regulation capacity rather than just managing around it. The flirt pole gets there faster than anything else in my toolkit.
Christopher Lee Moran · Working Dog TrainerWill This Make My Dog More Reactive?
Not when used with structure. Yes, if used without it. This is the most common concern owners have, and it is a fair one. Unstructured chase with no impulse control cues can increase arousal and worsen reactive behavior. If you hand a reactive dog a flirt pole and let them go wild with no Wait, no Drop-it, and no clear session end, you are practicing arousal without practicing regulation. That makes things worse.
In practice, the protocol here is the opposite. Every session builds Wait, Drop-it, and All-done into the structure. The dog does not just spike arousal; it practices coming back down on cue. That is the skill that transfers.
If your dog is escalating after sessions instead of settling, the fix is almost always the same: shorter sessions, slower lure movement, and more frequent Wait cues before the chase begins. See the overexcited dogs guide for specific adjustments.
Common Mistakes That Stall Progress
Skipping the foundation
For example, jumping straight to outdoor trigger work before Wait and Drop-it are reliable indoors. The cues need to be automatic before you add real-world difficulty.
Using it near triggers too early
Particularly, introducing the flirt pole around live triggers before Phase 2 is complete increases arousal instead of teaching regulation. Complete the progression.
Sessions too long
Meanwhile, exceeding 15 minutes pushes past neural fatigue into physical exhaustion. The dog gets more wired, not calmer. Ten minutes with structure beats thirty without it.
No clear session end
In short, ending unpredictably teaches the dog to self-manage arousal poorly. Every session needs an All-done cue, a treat, and the pole put away. The boundary matters.
Pushing distance too fast
However, reducing trigger distance within the same session instead of across sessions. If the dog reacted, you went too close. Back up and hold there for multiple sessions.
Wrong equipment
Indeed, short springy poles create erratic, unpredictable lure movement that amplifies arousal instead of letting you control the pace. The structured protocol depends on smooth lure control.
Which Whimsy Stick Is Right for Your Dog
Specifically, the protocol works the same way regardless of dog size, but the equipment needs to match the dog. The Standard for dogs 30 lbs and under. Working breeds and power breeds over 30 lbs need the Rugged XL (which is most of the reactive caseload I see).
For example, kevlar line, smooth lure control, wide arc radius. Built for the structured sessions this protocol requires.
In practice, dyneema line, 8-ft radius, reinforced for daily protocol work with power breeds. 1 lure included.
In fact, everything in the Base plus two extra lures. Best option for reactive dogs who go hard on equipment during high-drive sessions. Free US shipping included.
Flirt Pole Reactivity Protocol: FAQ
Method & timeline
Can a flirt pole actually fix dog reactivity?
Specifically, it does not eliminate drive or sensitivity. It builds the impulse control and handler focus that make reactivity manageable. Structured sessions teach the dog to hold arousal without acting on it and to defer to the handler under high stimulation. Applied consistently over 3 to 6 weeks, this produces measurable changes in real-world reactive behavior. Most dogs show significant improvement within the first two weeks.
How long does it take to see results?
In practice, most dogs show noticeable improvement within 7 to 14 days of daily structured sessions. Week one: the dog learns Wait and Drop-it and starts experiencing arousal-to-calm cycles. Week two: handler focus improves. Weeks three to four: impulse control begins transferring to walk behavior. Full reactivity management typically takes 4 to 8 weeks of consistent daily work.
Mechanism & mistakes
Why does this help more than regular exercise?
In practice, regular exercise depletes physical energy but leaves the neurological state driving reactivity largely unchanged. Structured flirt pole sessions address this directly by cycling the dog through high arousal and deliberate self-control. Each wait-release-chase-drop repetition is a practice trial in holding drive, the exact skill needed to interrupt reactivity on walks. That is why behavioral transfer to real trigger situations happens faster with structured sessions.
What if my dog is too reactive to focus on a flirt pole?
Indeed, start in the lowest-distraction environment possible: indoors, away from windows, no other animals present. If the dog cannot focus, run 5 to 10 minutes of calm sniff work first to lower the baseline. Do not introduce the flirt pole on a day the dog has already been reactive. Initial sessions should be short (5 minutes), slow, and successful. Build intensity over days, not within the first session.
Safety & sequencing
Is this safe for highly reactive dogs?
Yes, with appropriate precautions. Use a long line or enclosed space during early sessions. Keep the lure low and moving horizontally to minimize joint stress. End every session with a deliberate all-done cue and calm wind-down. Do not use the flirt pole immediately before known trigger exposure. Allow at least 30 to 60 minutes for the dog to settle first.
Can I use it directly around triggers?
Generally, only after completing Phase 1 and Phase 2. Introducing the flirt pole around live triggers before reliable Wait and Drop-it cues are installed is likely to increase arousal rather than reduce it. Phase 4 trigger work starts at significant distance, well below threshold, using the flirt pole to redirect focus before the dog reacts. The sequencing matters more than most people expect.
How many sessions per day?
In short, two daily sessions is the target: one before the morning walk, one in the evening. Morning sessions deplete accumulated overnight arousal and prime the dog for better walk behavior. Evening sessions process the day’s stimulation. Each session should be 10 to 15 minutes. Do not exceed 15 minutes. Neural fatigue is the goal, not physical exhaustion. Longer sessions increase arousal rather than resolve it.
Risks, comparisons & gear
Will this make my dog more reactive?
In short, not when used with structure. Unstructured chase with no impulse control cues can increase arousal and worsen reactivity. But this protocol builds Wait, Drop-it, and All-done into every session. The dog practices regulating arousal, not just spiking it. If the dog is escalating after sessions instead of settling, the fix is shorter sessions, slower lure movement, and more frequent Wait cues before the chase begins.
How does this compare to counter-conditioning?
In short, counter-conditioning works at the trigger. This protocol builds the regulation capacity before the trigger appears. They are complementary. The flirt pole gives the dog the impulse control foundation that makes counter-conditioning more effective when you layer it in during Phase 4. Most trainers use both together.
What equipment do I need to start?
Generally, a flirt pole with enough reach to run wide arcs and a durable line. Short springy poles amplify chaos, which is the opposite of what reactive dogs need. High-value treats for the drop-it reward. A low-distraction indoor space for Phase 1 and 2. A long line or enclosed area for safety during early sessions.


